So, this project has been a long time coming… I started this last summer with the intentions of completing it then but, as most things go with me, I got delayed a bit. Any way, I wanted to get a Keg-o-rater for a while as I had been brewing beer and putting it in bottles but wanted to put it in kegs in stead. Beer seems to take up a lot more room in the fridge when it is in 16 oz bottles and you have 10 gallons of it in there. : )
After some initial searching on the internet for new keg-o-raters, I realized that the ones that were in my budget were too expensive for the quality of the machine that I was getting. This sent me on a quest for plans on building my own as I figured that I could make a better cooler for the same price as the cheaper ones on the internet.
I ended up settling on the plans at Mike Beer (http://www.mikebeer.net/chestfreezer.htm) and making a few modifications to them. Though, the idea is basically the same; Get a chest freezer, convert it into a keg-o-rater and make sure it can be converted back without any damage if needed in the future.

 Next, I took tons of measurements of the lid and the outside to make sure that my collar would fit just the way I wanted it to. One thing that I wanted was a collar that would extend low enough that I could mount a drip tray on it without damaging the freezer by drilling it into the side-wall. I also did not want to put it on the floor as the pets would be drinking out of it in no time. I hit Home Depot for all of the lumber and screws. I ended up getting 2x4s for the top part of the collar and some ¼ inch thick plywood sheeting for the wrap that went down the outer face of the freezer. Some nice 90 degree moldings were used to finish off the corners and give them a more polished look as well. I cut all of the wood and it all ended up fitting together more or less how I wanted it to. Again, bonus! After this point, I took the “small” hiatus on the project. It was not until the party that we are having this coming weekend that I realized that I should finish the project so people would not have to open the lid and use the cheap plastic taps every time they wanted beer.
 Off to the local homebrew store went the wife and I to get the pieces and about 30 minutes later we emerged with everything we needed and $210 poorer. We got a one-to-two splitter for the gas as I felt that I would not have three beers on tap regularly enough to require a third tap or a third beer line. That ended up working out nicely as there is more room in the freezer now for beer people bring over to parties as well as it makes taking kegs out and putting them in a little easier. That’s one of the cons of a chest freezer conversion is that you have to be able to lift the full kegs up and over the rim of the freezer unless you have a stepladder or something, which I do not.
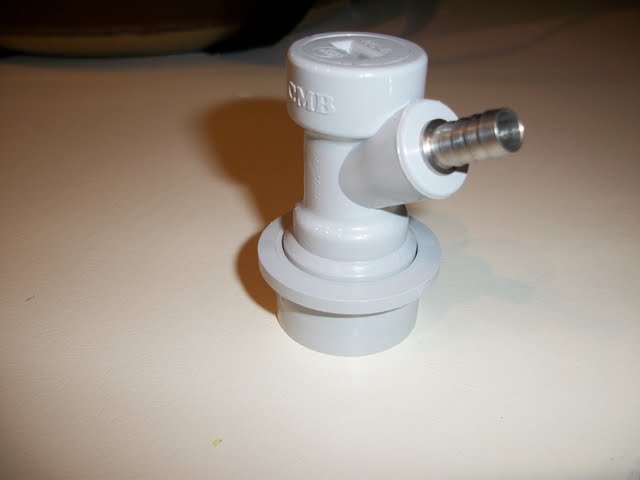
We also got two 5 inch shanks for the beer to travel through the collar and some nice stainless steel taps with little, generic handles. I will change the handles out with something cooler later but these work great for now and they were only a couple of bucks each. Thankfully, I already had a temperature control unit at the house so I did not have to get one. We finished up the order with 12 feet of beer line, 3 feet of gas line and some adapters for the kegs. I would have gotten less beer line but the guy at the store mentioned that I would want more line to ensure less foaming from the beer. I guess the length of line helps the beer to handle the pressure difference better and not foam up like if I had a short line going to the tap. Once again, beer store guys know their stuff.

It took me a couple of hours total to get everything sanitized and installed in the freezer the way I wanted it. I had to get a 7/8 inch drill bit at Home Depot for the hole that the shanks were going to use to go through the collar but that was it for the Home Depot. That’s pretty good for me as I usually have to go there at least three times for any project that I do, no matter how well I plan it out.


Overall, the project ended up costing about $400 and not only is it larger than the refrigerators you can get online, it holds colder, better temperatures longer, and I have the satisfaction of telling my family and friends that I made that, not just bought it. Project skill rating is about 2 out of 5. It mostly requires measuring skills and the ability to cut wood. If you don’t have tools to cut wood and a screwdriver of some sort, the project may be a little more expensive but not much.
 |
| Cheers! |
